A 3-day itinerary for Uganda and Rwanda; a budget-friendly guide for going gorilla trekking! Spend a day seeing Gorillas in the wild and half a day exploring the museums, shopping, and dining in Kigali. In 3 packed days you can see a bit of Uganda and Rwanda.

Jump ahead to a section below:
Lodging for Gorilla Trekking
Finding locally run lodging is key to keeping this trip less expensive. My friend and I used our lodging to help us book our driver and to obtain our gorilla viewing permit, all via email. It was significantly more affordable to book a driver directly through someone local rather than using a travel agent or booking through a group online.
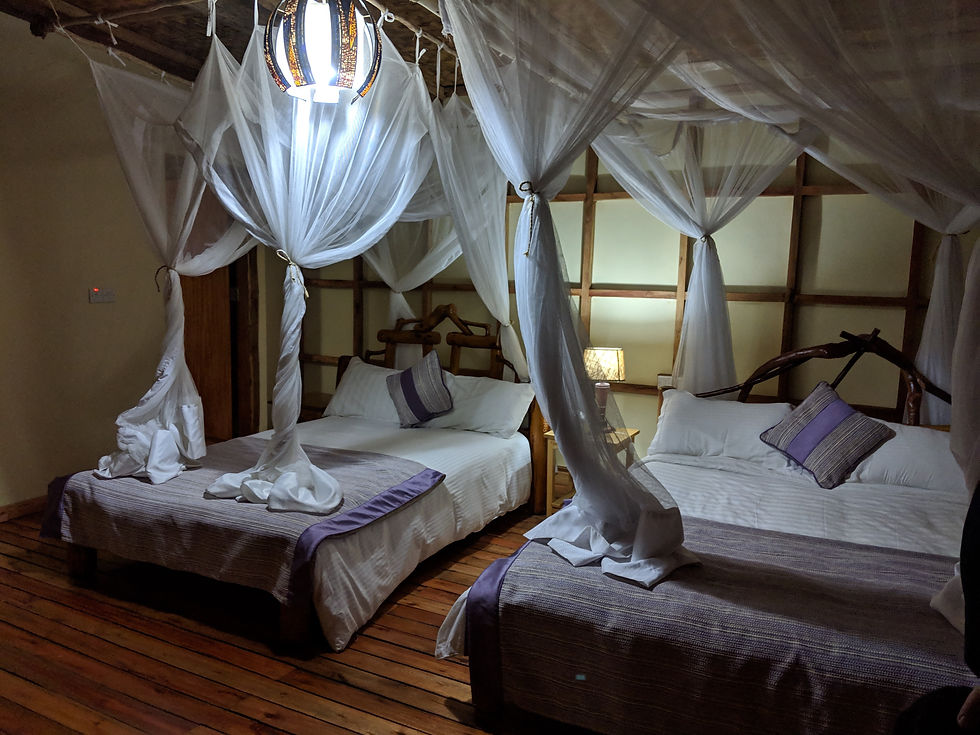
We stayed at the Buhoma Community Haven Lodge. The Buhoma Lodge and Camp is a nonprofit that supports local schools, water projects, and community farming. Not only does it support the local community, but its customer service is also on par with the service at a 5-star resort. The staff was so friendly, helpful, and enjoyable to be around. We arrived in the middle of the night, at 1 a.m., 6 hours beyond our planned arrival. The lodge staff waited up for us and the cooking staff stayed onsite to cook us a meal when we arrived. Our meals at the lodge were all simple traditional food, but flavorful and fresh.

The Lodge portion of the property is newer, built in 2014. It has a modern common dining and lounge area and beautiful cottages, all built with local woods. The cottages were built high up to showcase views of the Bwindi Impenetrable Forest. The bathroom in the cottage even had a stunning view. If you want an even more budget friendly option they also offer a Buhoma Community Rest Camp with more rustic lodging.

Bookings for Gorilla Trekking
As mentioned above, having our hotel book us a driver and our gorilla permits was the most affordable option we could find. It was $1,275USD for 2 nights of lodging, breakfast every day at the lodge, the private driver for 3 days, and our gorilla permits. The gorilla permit in Rwanda alone is $600USD.
Our itinerary itself was also strategized around budgeting. Gorilla trekking permits are cheaper in Uganda than neighboring Rwanda. They are $1,500USD in Rwanda, more than double Uganda’s price. Flying into Rwanda and driving to Bwindi Impenetrable Forest in Uganda, was a shorter drive (and therefore less expensive) than flying into Kampala, Uganda and then driving to the Forest. This also gave us a little time to see Rwanda too. The cost of gorilla permits changes regularly though, I recommend checking current rates before planning your trip.
***Side note, Congo is actually the cheapest place to go gorilla trekking, it is $400USD for a day permit. We were not comfortable traveling there due to the political and health climate at the time.***
Itinerary
Day One
Transit from Rwanda to the Bwindi Impenetrable Forest in Uganda
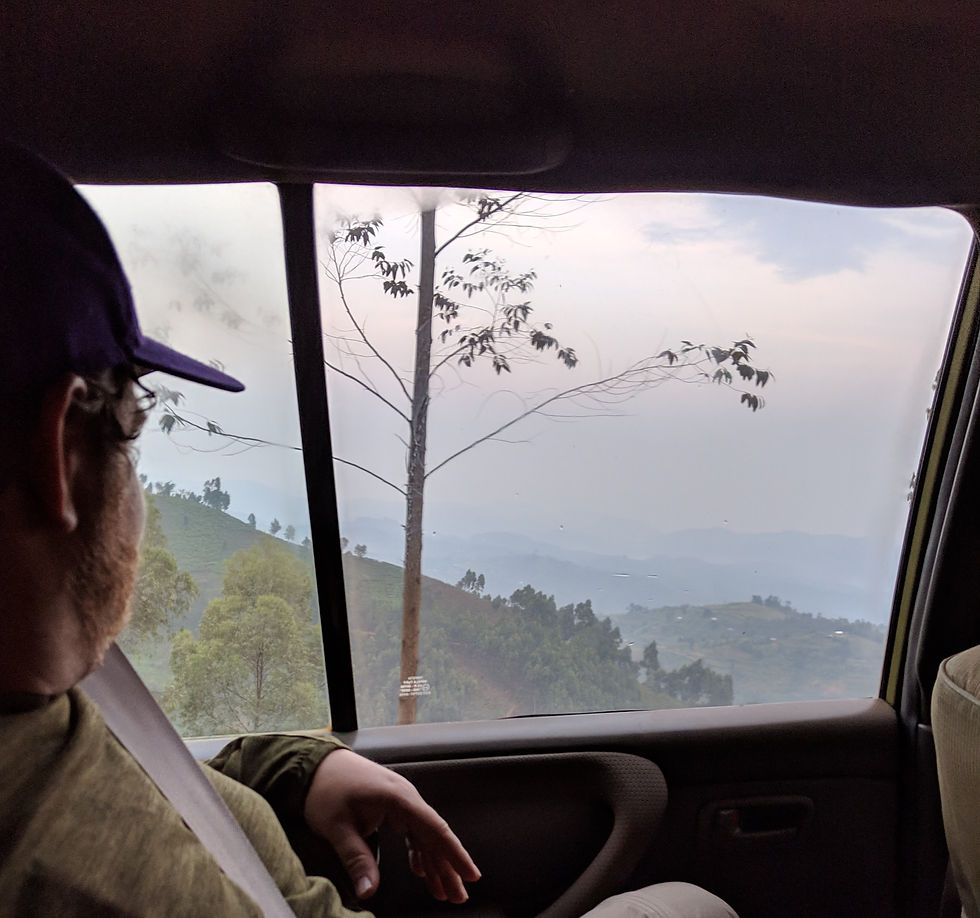
My friend and I flew into Rwanda and then hired a driver to drive us to the Bwindi Impenetrable Forest in Uganda. Kigali, Rwanda is the closest major airport to fly into to reach the forest. Although the drive is mostly on unpaved, dusty roads, it is beautiful. The road winds through mountainous green countryside that at times almost looked like Switzerland. We were told it would be roughly a 4 -5 hour drive to the forest from the airport. It ended up taking us a couple hours longer. The internet was down at the Rwanda, Uganda border crossing so we had to wait at the border until it was fixed. Knowing the experience we had, bring snacks, food and plenty of water for the drive. There were limited options for stopping along the way.
The border crossing was probably the only place with a quasi-real bathroom. There was also fruit and basic drinks for sale. At the border you have to exit the car a couple times to have your passport stamped and to show it on both sides of the border. Our driver had to separate from us to take the car through separate checks as well, so we crossed the border on foot. It was a unique border experience, but we never felt unsafe.

Buhoma Community Lodge (see details in Lodging) will prepare dinner for you, whatever time you arrive. We put in a request to have them prepare a packed lunch for our trekking the next day. The lunch was a good value for the convenience, it included a sandwich, egg, banana bread, a drink and a candy bar for $15USD.
Day Two
Gorilla Trekking
We had breakfast at the lodge and then our driver picked us up to bring us to the gorilla trekking orientation. When we arrived at the orientation there were local performers singing Ugandan music.
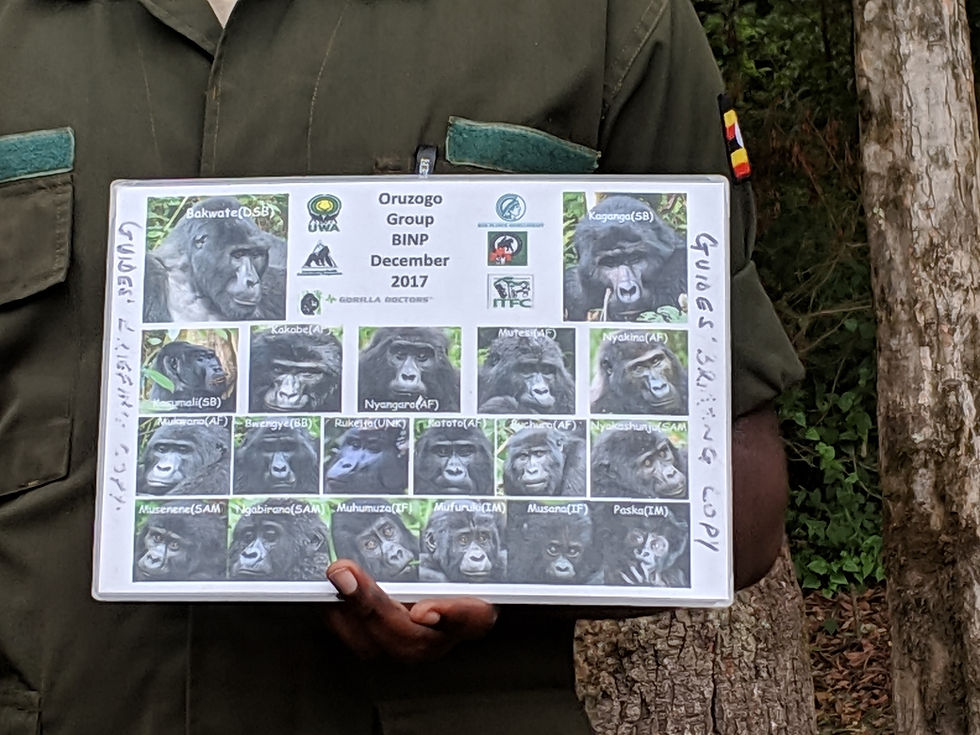
After the performance they gave a presentation about the gorilla population and the restrictions we needed to follow during our trek. Then they teamed you up with your hiking group and guides for the day. Once in our group, they showed us pictures with names of the gorilla family we’d be going to find.
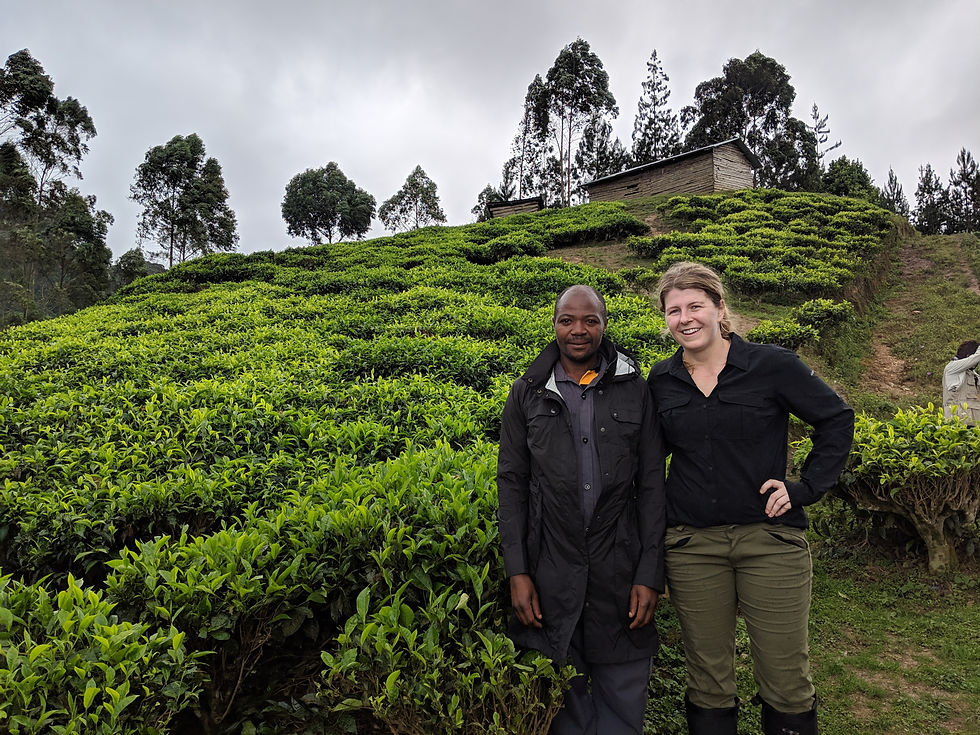
At this point you have the option to hire a porter for the day. The porter will carry your backpack and your hiking poles when you don’t want them. They will also lend a hand when crossing difficult parts of the hike. Our porters even made fans out of leaves to cool us off. If you are trying to save money and are accustomed to any type of hiking, you don’t need a porter for the day. The national park encourages you to hire one to help support the local people. The argument is that the more the local people can see that gorilla tourism is bringing them money and food on the table, the more they will help to protect the gorillas and stop poaching. So we hired porters. Although they weren’t needed, they were friendly and made it a fun experience.
The orientation also taught us how the tourism revolving around the gorillas has greatly helped to save and protect the gorilla population. The locals have learned there is more money to be made from the tourism than there is from poaching, so they now work together to protect the gorillas. Each gorilla family is only viewed for one hour a day, and they rotate which families are viewed on each day as well.
The national park building where the orientation is held is the last stop with a bathroom for the day.
Our drivers then drove us to the starting point for our trek. All of the various trekking groups have different starting points that they are driven to to try to minimize the hiking distance to find your gorilla family. They have scouts that work early in the morning to find the locations of the gorillas to help set this up. The organizers do everything they can to minimize the amount of hiking required. I had researched that this was going to be a tough hike, up to 8 hours of hiking total. It took us less than two hours to find our gorilla family. In talking with other travelers who go gorilla trekking frequently, it sounds like Uganda has mastered the pre- scouting work of finding the gorillas. It seemed common to reach the gorillas after only a couple hours of hiking.
For the hike itself, each group has a couple of guides that work to find the gorillas. They use machetes to chop down branches and carve out a walking path as you go.The guides also carry some type of gun. We never felt unsafe around the gorillas though. We even experience a silverback charging at us, but it only lasted a couple seconds. The guide said the gorilla was trying to get us to move out of the way of some berries that we were blocking.

It wasn’t easy terrain to hike on. There often wasn’t a real trail and you had to crawl through vines and branches. The hike also wasn’t straight uphill the whole time and there weren’t large elevation gains, so in that sense it is manageable for anyone that hikes semi-regularly.
Once you find your first gorilla you are only supposed to spend one hour observing them and taking photos. This rule is designed to protect their natural habitat and way of life. We were lucky because multiple gorilla families were hanging out together that day. We spent an hour moving around from gorilla to gorilla to watch them with our group, but ended up overlapping with other groups multiple times. Once our guide said we were finished and needed to start hiking back, we kept running into more gorillas on the way back. We probably had almost two hours where we were able to see them. We saw them laying down and chilling, playing up in trees, picking their noses, and even saw a silverback charge. I could have watched them forever. I would not have been bored if we had paid to go out again. Sadly, every day of trekking costs another $600.


The hike back to the road was about an hour and our driver was waiting there for us. The drivers all communicate with the gorilla guides so they know where to be when. It was all a smooth and well-run process.
Day Three
Transfer from Uganda to Kigali, Rwanda.
We had breakfast at the lodge and then started the drive back to Kigali.
Once in Kigali we went to the Genocide Memorial. I highly recommend a visit here. The experience starts with a short video and then you walk through a museum that outlines the history of the genocide. Finally, walk around the grounds and memorial outside as well.
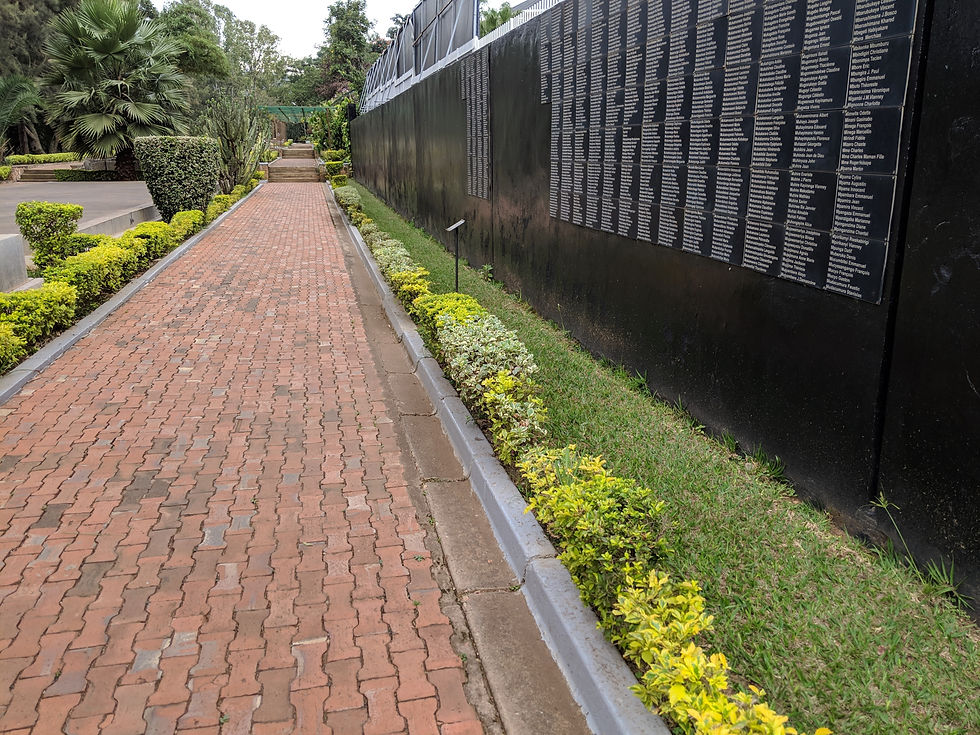
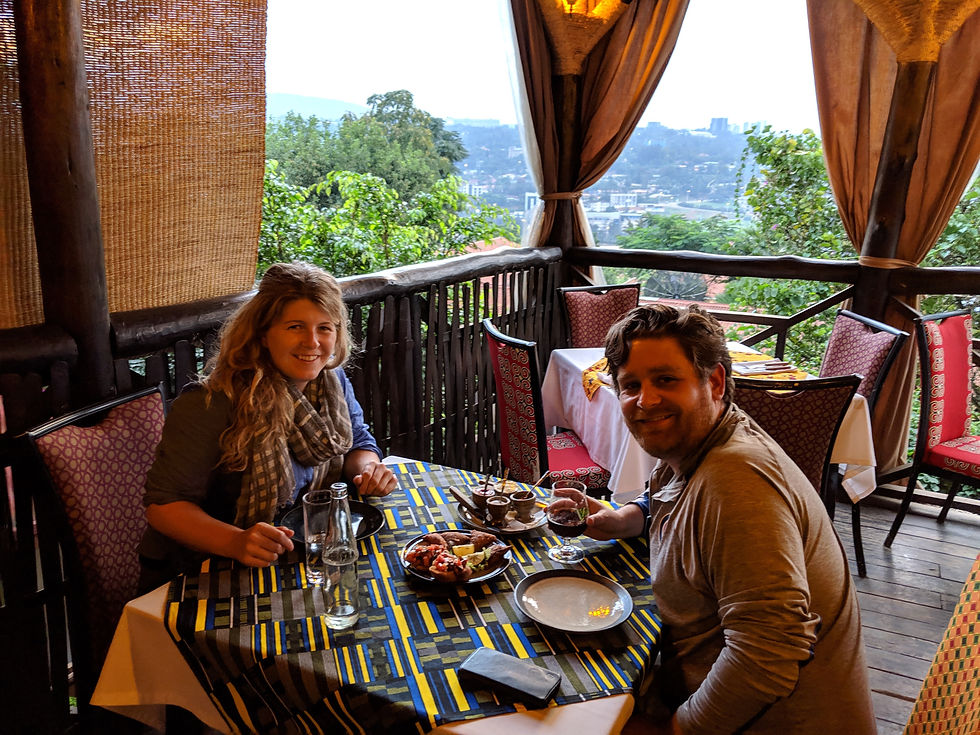
Then we had our driver take us to the shops and art galleries mentioned below in shopping, and had dinner and drinks at Repub Lounge before our flight late that night. Setting aside time for at least a half day in Kigali is worth it.
Build an Itinerary
Uganda was an add on to a full African itinerary for my friend and I. We also traveled to Cape Town, The Seychelles and Zimbabwe. You could add it on to any of those stops or other African destinations. Keep in mind that most sub-saharan African flights connect through Nairobi or Johannesburg. There are less flights than in other parts of the world, so a flight connection often requires an overnight stay and a full day of travel.
What to Wear and Pack for Gorilla Trekking
What to Wear
For gorilla trekking, plan to wear traditional hiking clothes.
You need quality hiking boots with treads and I recommend long pants and long sleeves that can hold up to being snagged by branches.
Bring a waterproof jacket.
If you want to avoid being wet at all then you could also bring waterproof pants and/or goiters to protect your feet. I stayed relatively dry with only a waterproof jacket, hiking pants and waterproof boots, but the conditions could be worse in the rainy season.
We were told to wear gardening gloves as well. When hiking, you end up grabbing onto branches and vines and the gloves were helpful.
Outside of trekking, bring lightweight comfortable clothes that will be comfortable for long car rides on dusty and bumpy roads.
What to Pack
Bring toilet paper or tissue packs for any potential bathroom stops on the drives.
Pack snacks for the drives as well. There were minimal options for buying food.
Packed lunch- If you want to save the $15USD cost for a packed lunch from the hotel (the price depends on what your lodging offers), you could bring peanut butter and wraps or any other shelf stable items to pack your own lunch.
The drive to the forest is a bumpy ride, largely on unpaved roads, so if you are prone to car sickness, bring ginger chews or other medication to help with those symptoms.
We had been told to bring hiking poles, but most drivers brought wooden ones for their clients, so save the space in your luggage and skip packing your own hiking poles.

Along the drive many children waved at our vehicle. Our driver said they love balloons and were asking for balloons. If I were to travel to the area again I’d bring balloons or small tokens to give the children.
What to Eat in Uganda
We found a mix of African, Indian and European influences in the foods on this trip.
Ugali- A traditional African side dish, made of cornmeal or cassava. It has a distinctive texture that is denser than other starches. Usually it is mixed with sauce based dishes.
Samosas- Fried pastry with a savory filling, often potatoes and vegetables
Boulettes- A fried meat or seafood ball, usually an appetizer
Lentil Dahl- Lentils cooked with Indian Spices
Soup au Pistou- A vegetable and bean soup
Where to Eat in Rwanda
Kigali, Rwanda
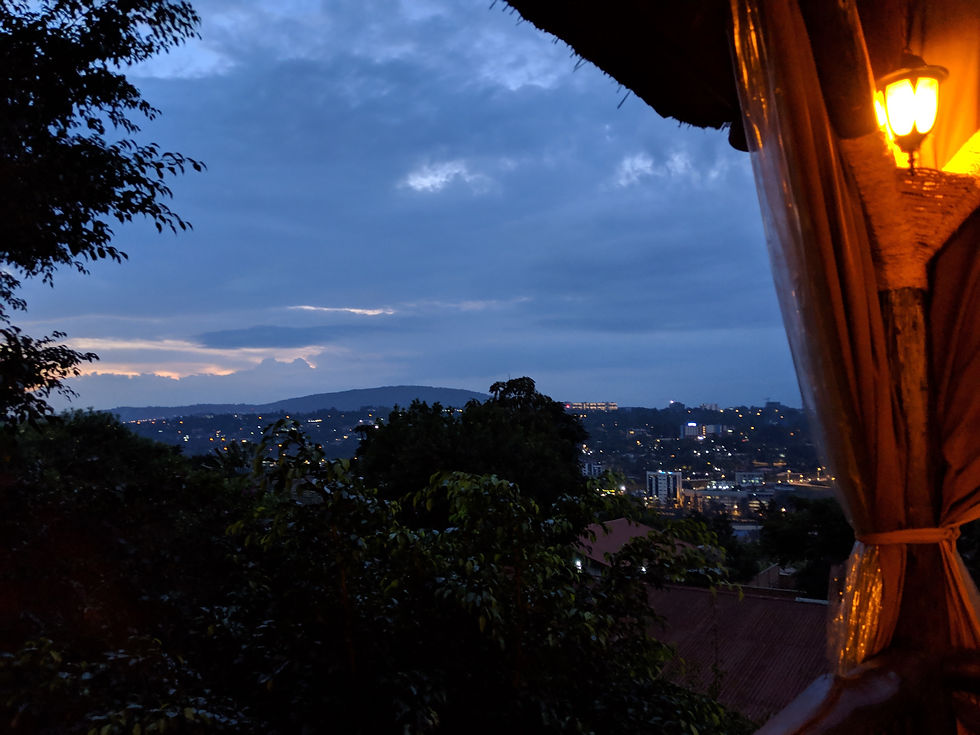
Repub Lounge- Has spectacular views overlooking the city. Their food is a modern take on East African Cuisine. We loved both the setting and the food. The grilled meats were our favorite.
Shopping in Kigali, Rwanda
During our afternoon in Kigali we found a few stores worth visiting.
Nyamirambo Women’s Center- an N.G.O. that works against gender violence. They sell toy animals, purses, pouches, clothing, and other fabric based souvenirs in the colorful Rwandan fabrics. The store also sells a wide variety of fabrics by the yard. We both ended up buying most of our gifts at this stop.

Niyo Arts Gallery- Another non-profit that focuses on helping street children and single mothers living in poverty.
Inema Arts Center- A more formal art gallery that also does work with community programs.
Getting Around Uganda
We were able to line up a private driver for all 3 days for a reasonable rate, so we never used any other transit.
When to Go Gorilla Trekking
Gorilla trekking is available anytime of year, but the best times are during Uganda’s dry seasons, January and February and June through September.
Other Tips for a Gorilla Trekking Trip
If you are considering going to Kenya in addition to this trip, you may want to consider buying the East Africa Tourist Visa. It covers Rwanda, Uganda and Kenya, and is less expensive than buying the individual visas for each country.
Have cash on you before you leave Kigali for tips for your porter, driver, and hotel staff. We didn't see any ATMs outside of Kigali.
Trip Dates: January 15th-January 17th, 2019.
Comments